Contacts
0086-13650875099
0086-13760620808
Email:


Address:Room 09,12/F,A Building,HongYu Square,No.205 Baogang Road,HaiZhu District,Guangzhou,China
Payment Terms
Westerm Moneygram :
wan quan xu
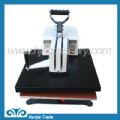
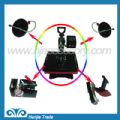
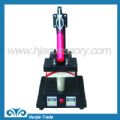
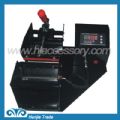
Heat transfer machine
Cap heat press machine
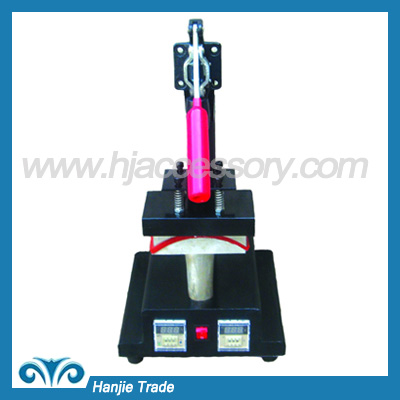
Product Details:
Product TypeMachine
Style Heat transfer
UseCap
ColorMulticolor
Size 600*440*330mm
Place of Origin Guangzhou, China
Brand Name HJ
Model Number WH111100625
Payment & Shipping Terms:DHL,UPS,FEDEX,EMS.
Minimum Order Quantity:1pcs
Port: Guangzhou
Packaging Details: Plastic Package and Paper Carton
Delivery Time: 3~5 working days
Payment Terms: Paypal, T/T, Western Uniom
Supply Ability: 100pcs/week
Manual for hat Transfer Press
•Fuction
Baking color logo, photo image or picture on the hat surface for advertising, gift purpose with artistic and applied effects.
•Feature
Digital temperature indicator
Automatic temperature constant
Even pressure heat-resistant material remains stable up to 400 ℃
Automatic baking time control
Pressure adjustable
Full hat surface heat transfer print
•Specification
Voltage: 110V
Voltage: 110V
Power: 550W
Temperature range: 0℃- 400℃
Time control range: 0 s to 600s
Weight: 13.5KG
Packing size: 230 X 300 mm
•Opearation
1、 Place a shaped hat, close the handle with appropriate pressure and then plug the power;
Caution! The machine must to be protective earthing properly before operating.
Avoid excessive pressure.
2、 Cut the picture size to be large as the hat surface and then put it to the hat by adhesive tape.
3、 Setting the temperature to an appropriate (between 150℃- 180℃) by turning the temperature knob;
4、 Setting appropriate time, approximate 20 seconds, the temperature rising time is 2 to 4 minutes;
5、 Place the picture-wraged hat, close the handle and then turn on the power, red indicator lighting;
Caution! The size of picture should be large enough to cover the whole hat surface to avoid singe and impress.
6、 The machine shall start the timer automatically and enter the status of constant temperature when the temperature rises to the setting degree;
7、 Release the handle when the buzzer rings and take out the hat;
Get rid of the picture paper 3 seconds after the hat to be took out from the machine.
Caution! For protecting the heating mat, place the shaped hat all the time and close the handle when the machine is not being used.
Another piece of paper should be used to cover the hat surface to avoid the direct touch of the hat surface with the heating mat, when the picture is too small to cover the whole hat surface.
•Adjustion
Pressure: To adjust the handle to increase or reduce the pressure.
Time: To set the timer to the appropriate time, around 30 seconds.
Temperature: Turn the temperature knob to set the appropriate temperature, between 150℃- 180℃
Caution: The machine needs 2 minutes break every 60 minutes working period when in mass production.
•Problems shooting
Color too light: The baking time is not enough, so add more baking time which will get the real color.
Blurred image: The baking time is too long, just reduce the baking time will make the image distinct.
Partly color light: Caused by the short pressure or the coating is uneven, need to increase the pressure or replace hat with uneven coating.
Blurred image caused by heating mat: replace the heating mat.
Scar on image: The baking time is much too long, just reduce the baking time largely to remove
|
① |
|
②
|
|
⑤
|
|
④
|
|
⑦
|
|
3③ |
1.press handle 2.temperature controller
3.power on/off 4.heat board
5.tiner


